In this article we are going to build a simple registration form by using Ionic framework for front end and core Php for back end
Step 1
Install Ionic Cordova. If you have done it already, skip this step.
Step 2
app.module.ts
Import http module as we will use http post method in our form and import reactive form module as we will use reactive form in our app.
Step 3
home.html
We will create our registration form here in reactive form format and validate them using reactive method. In our form there will be four fields (name, email, password, confirm password). Submit button will be disabled if form is invalid and after submit we will call a function registerToApp()

Step 4
home.ts
Import formbuilder, validators, http, response, header, rxjs map. And next we will declare them in constructor.
In this file we have to create our form validation rules here for specific fields of our registration form in reactive form builder module

We must have to define the submit function registerToApp here

As we want to make our code clean, we will create a separate service for registration. We will create a folder service within “src” folder and within that service folder we will create registration.service.ts file.
Step 5
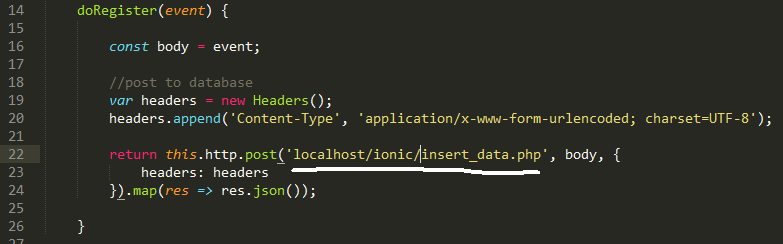
registration.service.ts
We will import all the necessary files to create our own service and as we are going to inject this service we have to define this service as injectable
We will define a function here doRegister(), within this function we will define headers and Create a http post method to insert data into database by insert_data.php which we will create in the next step. In this function First parameter will be the exact path of that php file from localhost if using xampp and this function will return an output from that php file which we will hold in ‘res’ variable and we will do mapping to get the results in json format
Let us create a file within “src > assets” folder and named it as insert_data.php
Step 6
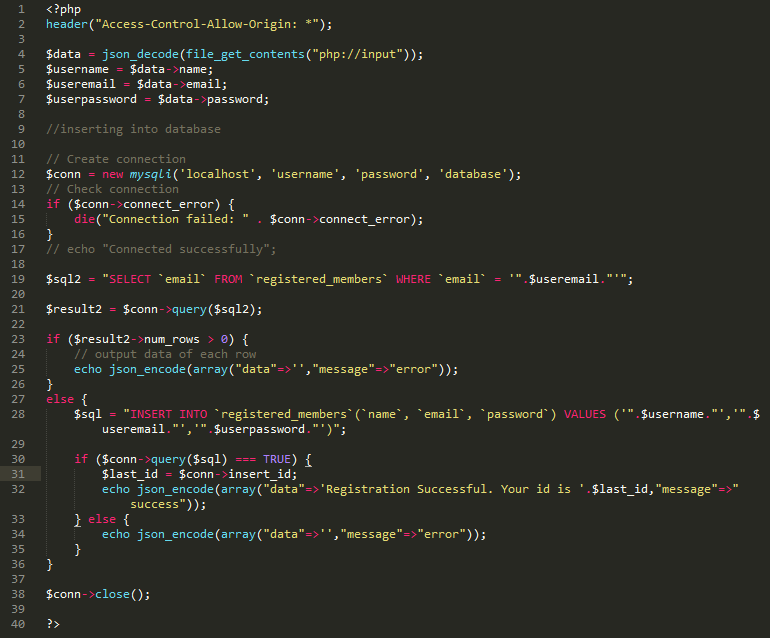
insert_data.php
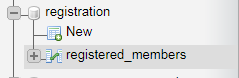
Here we will assign our form values to php variables and We will connect to our database registration and run mysql query to insert data to table called registered_members by using simple php code here

In both the cases(failed or success) it will return a json encoded array… if we return only text here it will return an json parse error every time in our console
Here we are using a simple cheking. That is if an email which is entered in that registration form is already exist, it will show an error message.
If everything is alright the Then insert the values into the database.
Step 7
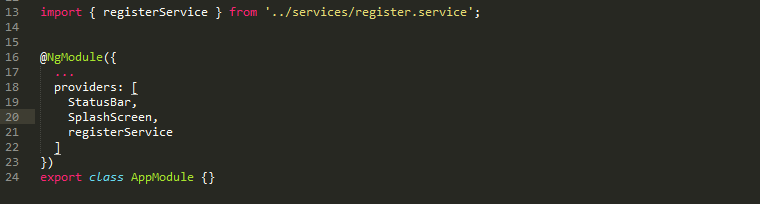
Return to app.module.ts
Import that service we have just created in this file so that we can access it anywhere
Step 8
go back to home.ts
Import registration.service.ts and declare it in constructor

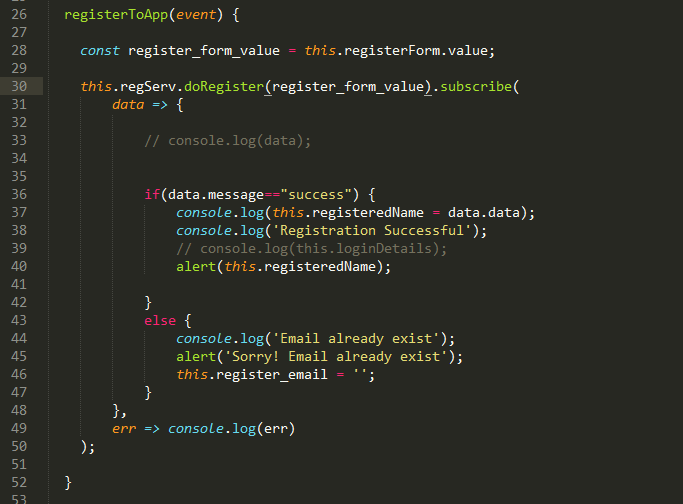
Within the function named registerToApp() we will run our registration service and subscribe the returned values so that we can view if the values are submitted properly or not. if success then it will return a success function along with insertion of those data into database.
That’s all. You have created a simple registration form using Ionic and Php.
You can view the full project on Github
Follow me on LinkedIn
By profession I am a Frontend Developer at Openweb Solutions.