If you ever get stuck in a situation where you have to crop an area of an image like a circle or like a square or maybe a rectangle area in a web application then there’s a way of achieving that by using a Javascript library or plugin called Croppie. It is fast, and you will get a lot of configuration options to customize it as you need. If I can quote from the website then it is “Croppie is fast, easy to use image cropping plugin with tons of configurations options”.
So if you want to use it in your project first you have to install it in your project, and you can do that with NPM or BOWER. Just run this following command as you see fit.
NPM: npm install croppie
Bower: bower install croppie
After that, you can require it or import it in your project. Now to use this Croppie first you have to create a div tag in your HTML file and give an id to the div tag, now this div tag will be responsible for showing the image. Like this one.
<div class=”demo”></div>
<script>
$(‘.demo’).croppie({
url: ‘demo/demo-1.jpg’, // although you can use the base64 format of an image in the place of the URL
});
</script>
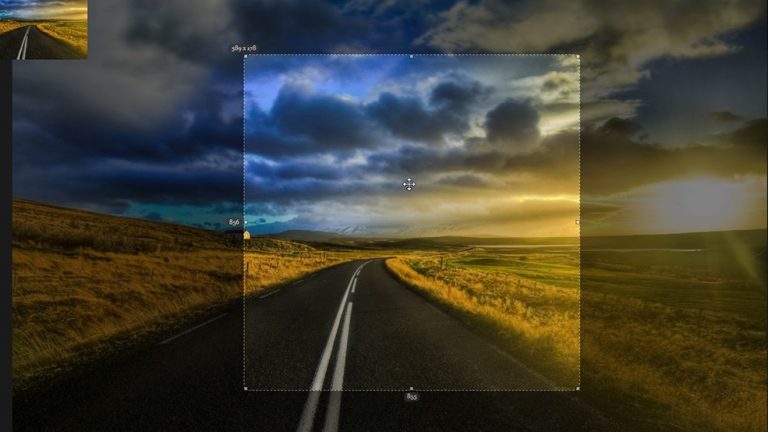
Now this will produce something like this. You can grab and select a
 portion of the selected image to crop. Then you can zoom in or out using the bar under. By default, it is enabled and you can also disable it, we will discuss that later. Now, remember the output of the image will always be the area that you have selected and it will be encoded in base64.
Now here’s an example with some more functionality.
<script>
$uploadCrop = $(‘#upload-demo’).croppie({
enableExif: true,
viewport: {
width: 200,
height: 200,
type: ‘circle’
},
boundary: {
width: 300,
height: 300
}
});
</script>
Here we can see some options like enableExif or viewport, they are used to customize the visual. Here enableExif tells Croppie to read Exif orientation from the image data and fixes the image before rendering it to the page.
Viewport is an object, it is responsible for the inner part of the image which is visible to the user. You can set height, width, and type of the viewport, which is circle by default, but it can be changed into square or rectangle.
Boundary is also an object which is the outer container of the cropped image.
Now to get the cropped area of the image as a result you have to use the result method.
<script>
$uploadCrop.croppie(‘result’, {
type: ‘canvas’,
size: ‘original’,
}).then(response =>{
});
</script>

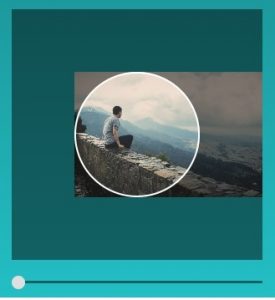
Here response is the image what you’d desired. You’ll get something like this.
Although this response will be in base64 encoded, so you have to convert it into the
file format, how are you going to do that? That I’m not going to tell. 🙂